Saturday, April 09, 2016

More projects

This is just basically a list of projects I did on the house... I don't really have the time-frame of when they were completed.

The fish tank:

Basically, we were tired of having this huge fish tank in the living room.  The novelty wore off and we were looking to sell it... that is until Theresa had a great idea... put it in the basement!

Before:
This is it... big, not so pretty and, after getting rid of the bathtub in the guest bathroom, a pain to clean (I filled up 5 gallon buckets in the tub).  Theresa's idea of putting it in the basement was PERFECT because there's a utility sink down there and it's much easier to clean...
After:
It is still sitting on the same cabinet... but it is also resting on the studs in that wall.  I'm really pleased with how this project turned out... it was actually pretty easy.  Just had to cut a hole in the wall!

Garage Storage:


Windows:


Hide-a-bed:

This has always been on my bucket list.  Thankfully there was still this beautiful cherry wood back at the farm.  My father cut a bunch of wood one year and had it processed at a mill... we used a lot of it, but it dawned on me that there might still be some there and luckily it was the best (the cherry)!

The kit was relatively inexpensive... the worst part was the fact that I never had much time to dedicate to it, so it took forever.  The main reason we did it was so that we could actually use the guest bedroom (otherwise the bed took up most of the room).


The Guest Bathroom

You'll have to go back a couple of posts for the back story on this bathroom, but the thing that held up the completion of this project (other than distractions) was the Master Bathroom... I wanted to complete all the plumbing up there before closing up the Guest Bathroom since it was basically the only access.

While we went away to New Orleans I had a friend of ours come and finish the taping and mudding and now it is finally complete!  It was probably a year (or more?) in its unfinished state.

The list of things that we did in this bathroom:


  • removed the tub (we didn't see the point of having a bathtub on a floor with no bedrooms)
  • removed the sink (both the sink and the tub went up to the Star Wars bathroom)
  • added a new toilet
  • added a bathroom fan
  • added a nice vanity
  • upgraded the floor
  • upgraded the door

I hope the pictures can show the rest!

(Click on the image for the album):


Distractions

I think I may have mentioned how we have been trying to weatherize the house (by adding new windows, for example). Another thing I wanted to try was better insulation. We were convinced knew that the walls were not insulated very well, so we decided to see just how bad it was and then re-insulate.

 First of all, the walls are all 2x4, so there's not a lot of room for insulation. Second of all, they didn't do a very good job! At one point they ran out of insulation and used "sound proofing" instead... and there was that one place in the kitchen where Theresa and I knew there was little-to-nothing insulating that part... it turned out there was nothing... the plumber came and fixed the plumbing, but he forgot to put the insulation back.

 This post is called Distractions because I have so many projects going at the same time that this is what the new projects become: distractions from the projects I've already begun! This insulation project turned out pretty well... the walls that were insulated are much warmer, but it didn't seem to make much difference because we didn't do ALL the walls and so, it only helps in that area where the work was done (but obviously it still helps).

 If I could, I'd finish the whole house with this spray foam insulation, but there's not enough time, energy, resources for all of that! Here is the album of photos (click on the image):


Saturday, December 13, 2014

Bathroom Renovations

~Written by Pete
There were other projects on our list before this one, but thanks to a leaky shower and a bunch of mice, we gutted out two bathrooms... The upstairs bathroom had the leaky shower which dripped into the main floor bathroom.  There was nothing I could do to stop the leak, so I simply tore out the drywall below (just a small area) and let the water drip into the bathtub below.  That temporary solution lasted until one morning... before getting in the shower, one of the boys discovered a cute little critter... A baby mouse!  Ugh, so not only were the mice getting into the house and crawling around in our ceilings, but they were also starting a family and settling in!  :(

I was determined to find the place they were getting in, so I began with the upstairs shower room.  I call it a shower room because that's all it was.  It was a bit weird, to be honest.  It was connected to our "master bath" and had a door which opened to the rest of the upstairs bedrooms.  For the first couple of years that we've been in the house, we basically kept the door locked which opened up to the hallway, but we always had in mind to change that into a full bath for the boys to use.

This is a view from the master bath doorway.

The first thing I did was cut out the old fiberglass shower unit (my sawzall was the favored tool of this whole project).  Guess what?  I found NO holes to the outside from here.  Basically, they're getting in from some other place, walking around the ceiling and crawling up to the bathroom (for water?) and building a nest.  :(  

By the time you get this far into the project, whether you want to be or not, you're committed... so in order to try to summarize this, I'll put it in list format:
1) Added a bathroom fan to the upstairs shower (which will now be a bathroom for the boys)
2) Replaced the fiberglass shower unit that was there with the bathtub from the bathroom below (we want to make that bathroom a nicer "guest bathroom" and we didn't want to keep the bathtub there any longer.)
3) Added a surround to the "new" tub upstairs.
4) Added electricity for an outlet to prepare for the "new" sink (which was conveniently already in the right place... I just needed to remove an electric heater that no longer fit).


The plumber came and added a toilet to this room (behind the door), re-connected the new shower, and set us up for the "new" sink (we brought up the sink from the downstairs bath.)  Remember:  this is going to be the boys' bathroom... we realize it will probably be treated, um... not-so-gently, so we are using all used things.

Obviously with the toilet behind the door, that needed to change, so I took out the door that connected the Master bath and replaced it.  This involved moving it over a little bit so that you didn't walk right into the toilet when entering the room.

Oh, yeah, I forgot to mention the new floor!


You can see that the old doorway has been sealed off now...

Next step, drywall.  Drywall took forever because I basically put up one piece at a time (whenever I found time).  Mudding and taping was an off-and on project as well (and will be a task of mine in Purgatory, I'm sure).


Even by the time I had finished all the mudding and taping, we started using the bathtub... showering little ones is possible, but not so much fun!  Finally we could move on to the painting:


The sink is now installed as well as the $15 mirror that I got from the local Re-Store... and then dropped while bringing it in the front door :(  Oh well, remember, this is the boys' bathroom!  We put some tape over the broken glass and installed it anyway!

Finally, the big reveal... we had to make it more of a fun bathroom for the boys... they weren't that excited about getting a new bathroom, so we had to add a little flare... are you ready for it?


Taa Daa!  It was a lot of work and a long time coming, but so far so good.  The boys really like their Star Wars bathroom and as far as we can tell, the mice have now evacuated the building... oh yeah, speaking of, we brought home a few things to help with that problem... kittens!  We now have four cats... hopefully they will take care of the mice!

Stay tuned for the downstairs bathroom renovation update!
Damian loved going into the gutted out bathroom to hide!

Sunday, June 22, 2014

Our new sidewalk!

Remember how we created a front door to our house? (If not go here to catch up.)  Well, it's not much use if you don't have a sidewalk leading up to the door!  The foyer project wasn't completed in time to start the sidewalk, so we walked through the grass for about six months until the snow and frost went away (OK, well maybe it was more than six months).

We decided not to go with just pouring concrete because we figured it would cost a lot more if we went that route.  Instead, we looked into paver stones.  The obvious first step is to clear the path (and when you don't have a wheelbarrow, you improvise with the kids' wagon and a tarp).


Below you can see where all the dirt went... I always wanted to fill in the gap near that retaining wall... it seemed to me that the water just drained right down the inside of it... now hopefully it will drain away.


Removal of the dirt was actually probably the easiest part...


Below you can see how I solved the drain spout (which would have gone right over the sidewalk).  It now drains out into the yard... time will tell how well this works.  With the rented compactor, we were ready to get the base of the sidewalk ready.


The trick with the base is to include the suggested slope on the sidewalk (so water drains away from the house).  Here's how it looked after adding the first layer of gravel and compacting it.  After the second layer, we were now ready to start laying the pavers.


As we started to lay the stones down, I was a bit nervous because they shifted on top of the leveling sand... in the end, it all worked out nicely, but being the first time, I wondered if we weren't doing something wrong.


Thankfully, adding the plastic edge along the sides helped to pull those loose stones in tightly.  The next step was to add a paver-locking sand and actually run that compactor over the stones (which was a bit nerve-wracking).  No stones were harmed and we were able to clean up and make it look pretty.


Here are several pictures of the final product.


If you look real closely, you can see the cross.  We only added this unique design to the first set of stones.  The rest follow the pattern that Theresa came up with so that we could complete the project without having to cut any stones (it actually took a lot of work and I was very grateful).


In case you haven't noticed yet, the sidewalk ends abruptly before the stairs to the front door... this is because one day we expect to build a front porch... leaving the sidewalk "unfinished" will hopefully serve as motivation to get to the porch project. 

Well there you have it!  Was it cheaper than pouring concrete?  Probably, but we get more enjoyment out of doing it ourselves!

a punch to your shoulder
the Martins


Wednesday, March 05, 2014

9 months old and not too happy ;-)

Well, you can keep Damian in your prayers, poor kid has been miserable the last couple days!

But he turned 9 months old today!
cruising like crazy :-)

Here's a cute video to commemorate his day - grumpy, but still cute!


oh and fyi - we have switched things around a bit and while viewing the blog is still open to anyone, we would like this blog to be kept just for family and friends. So, we would ask you not to share posts with the general public. (I, Theresa, am using my www.NewFeminismRising.com blog in a more personal but public way. So my musings on mothering and family life will be there, but the posts of our children - for their privacy too - will be here.)
Thanks!

Sunday, December 22, 2013

Top 5 Home Renovations of 2013

by: Pete

We've been here in our beautiful country house for over a year now.  It's time to post some of the updates we've done to the place. 


1) The Foyer
It was over a year ago when I first spoke of the foyer... it's *almost* finished now... I just have to finish up the trim and touch up some paint here and there... Here are some before and after pictures:
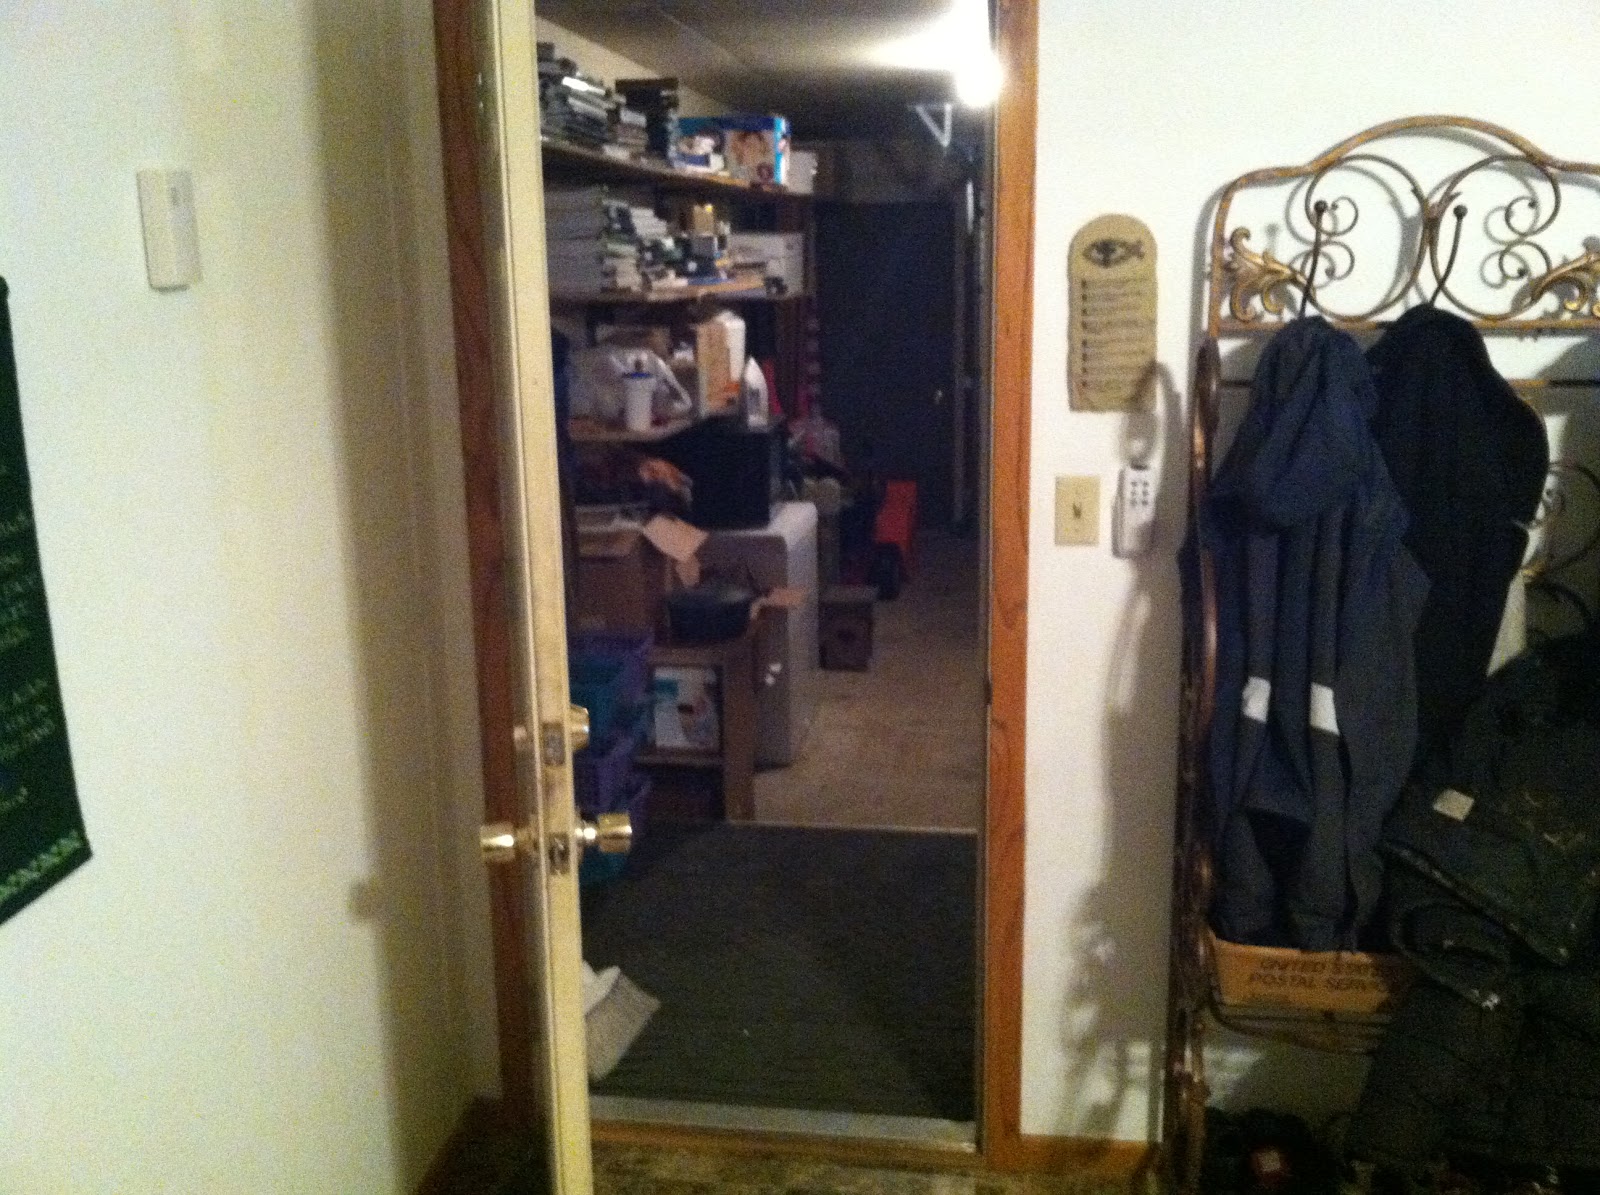


As I said before, it was not an ideal situation.  The only entrance to the house led through the garage and there was no closet for us to hang jackets and place shoes.  The object was to have a front door including an entryway and a closet... if you looked at last year's post, you saw how we came to a solution by taking a corner out of the garage to be the new foyer.


This will work when it's not freezing outside.
After completing the drywall for the foyer, I added a couple of places to hang jackets in the garage... Remember, I was basically doing this project on the weekends, so it took awhile to actually finish the closet on the inside and we still had the problem of coats being thrown on the floor.
the original front door became the door into the garage

I removed an extra stud to widen the entry way (hence the hanging switch box). 


This was a pretty exciting moment to actually see the entryway come into existence!  After framing out the closet and adding the doors, I added the light both in the entryway and outside at the new front door (which you'll see later).  As a novice electrician I learned a lot... the first wiring job dimmed the lights in the living room... it was pretty funny actually (even though it meant I had to go back to the drawing board and figure out where to draw electricity from).


This archway was pretty cool.  I bought it from FastArch and it was super easy to install. I had to build a header above the archway and just attached it to that with roofing nails!

Then came the job I enjoyed the least: drywall.  I gained a whole new appreciation for those who do drywall for a living... It's a lot more difficult than it looks!


  Putting in the new front door was fun at the beginning, but again, I have a whole new level of respect for someone who perfectly installs doors.  I finally was able to get it to sit in there nicely, but it took awhile!  Take note of the outdoor light.  We never did get around to getting the sidewalk poured, but I did build a set of stairs, so the door is functional!


Like I said, the drywalling was not easy... I put a nice plastic edge on both sides of the archway, so hopefully that will last.  Now it's ready for paint and trim!  Speaking of paint, Now's a good time to point out another considerable upgrade to our house: Paint!!  My cousin came to the house while we were in New Orleans for a wedding and painted the majority of the interior of our house.  There's nothing better than coming back from a vacation to a new, beautiful home!!!  She did such a wonderful job!!


Are you ready?  Drumroll please...

from Theresa: Thank you, Pete! its beautiful! and I even got my oval window front door with fancy handle! <3 br="">Oh and that beautiful signature piece of photography was done by http://www.hwportraits.com/

2) The Living Room Floor
 One of the other beautiful renovations to the house is our living room floors.  The carpet was stained in several places and we believed that it still held some of the cigarette smell from the previous owners, so we opted to do hardwood floor.  I had a friend of mine help me with most of it... it was actually quite easy once we got going... and what a difference!!


And here are the results!!  Someone commented: "it looks as if it was meant to be hardwood all along!"

Theresa put together a wonderful image of what it looked like before and after:

3) The Hobbit House
The next project was for the boys...The closet under the stairs was not really being used, so...


...we cut a hole in the wall....
 ...and added these cute little doors.
Voila!  The Hobbit House!  I took the door off the closet on the other end so that they can get some light in there... one of these days I might even add a light, but as you can imagine, they love it!
Theresa is painting a mural on that wall... it looks just like the Shire.  We'll post pictures when it's completed.

4) Under the Deck Roof

This project was unexpected, but I needed a place to park the lawn tractor and even though under the deck was the perfect spot, it was not dry because it dripped down from the deck.  There are lots of expensive solutions out there that look very nice and then there are 10 foot metal roofing panels and some strips of 1x4s to help make the panels slope so they don't hold water...


  Believe it or not, this was a one-man job.  I built a frame that held one end of the metal up while I screwed in the other end.  I also framed around the perimeter and put up clear plastic roofing panels up so that it blocks the wind and not the light.  It makes for a nice storage place and the cat keeps the mice out!\

5) The Storage Shed (OK, so obviously I didn't feel like I had enough storage...)

Speaking of cats.. here's our cat "Socks"... I'm also pointing out the last project.  I wanted to build a shed on top of the concrete slab that the previous owners left behind (it was for their dog kennel), but in the end, it looked like it was going to cost me more for the supplies (not to mention the time).  I found a Rubbermaid storage shed which matched my siding pretty well (and fit the slab almost perfectly).  Sure it's just plastic, but hey, I don't need it to withstand a hurricane or anything.  It only took one day to build and so far it's a pretty nice shed!


Well, I hope you enjoyed our first year's worth of projects!  I'm sure there are many more little things that we've done, but I think that covers all the big projects!

a punch to your shoulder
the Martins